How do I send onboarding emails from my own domain?
Last updated: August 26, 2026
Authenticate your sending domain in Settings → Account → Email, then set the address you want automation email to come from. No SendGrid account and no API key involved — the only outside step is publishing DNS records.
Before you start
Someone who can publish DNS records for the domain — usually IT, or whoever manages your registrar.
Access to
Account Settingsin Onboarded.
Add the domain
Go to
Settings → Account → Email.Under
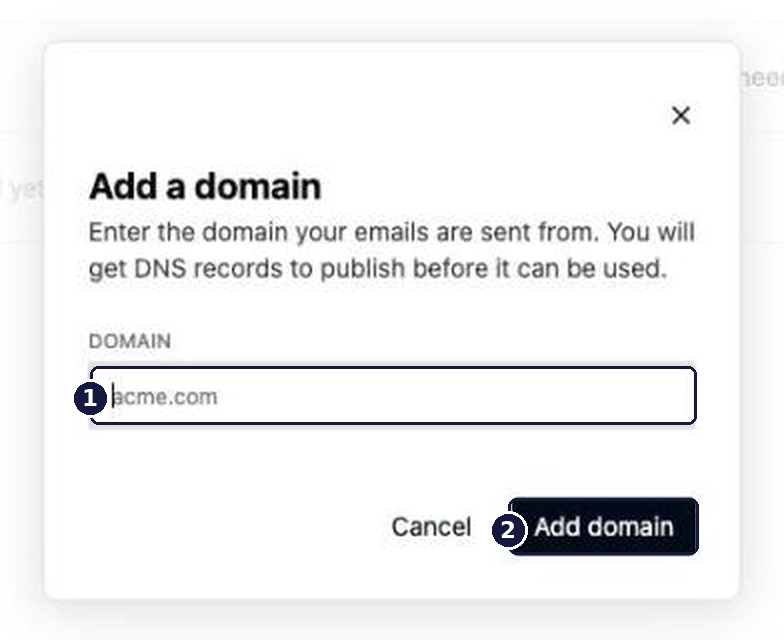
Domain Authentication, selectAdd domain.Enter the bare domain your email will come from —
acme.com, with nohttps://and no path — and selectAdd domain.
The domain appears in the table with a status of Pending DNS.
Publish the DNS records
On the domain's row, select
View DNS records. The dialog lists every record with itsType,Host, andValue.Copy each
HostandValueinto your DNS provider exactly as shown. Send the whole list to IT if that's who publishes them.Save the records at your provider, then give them time to propagate.
Watch how your DNS provider handles host names. Many providers append your domain to whatever you type, which turns a host of em1234.acme.com into em1234.acme.com.acme.com. If yours does that, omit the trailing .acme.com and enter only the part in front of it. This is the single most common reason a record comes back Not found.
Verify the domain
Back in Onboarded, open
View DNS recordsagain and selectVerify again.Read the
Statuscolumn. Each record showsFoundorNot found, and a record that didn't resolve shows the reason underneath it.
When every record resolves, the row flips to Authenticated. Records are only re-checked when you select Verify again — publishing them doesn't flip the status on its own. DNS changes can take up to 48 hours to propagate, so a failure minutes after publishing isn't a sign that something's wrong; wait and check again.
Set the sender address
Next to
Sender email, select the pencil.Enter the address you want candidates to see —
onboarding@acme.com— and selectSave.
You'll see Emails will now be sent from onboarding@acme.com, and the Default tag disappears from the field. The address has to be on a domain showing Authenticated; anything else is rejected here rather than failing quietly at send time.
Verify
Trigger an automation that sends an email and confirm the message arrives from your address rather than no-reply@onboarded.com. Nothing needs re-saving on your existing automations — the sender is resolved when each email is sent, so every Send Email action you've already built picks the new address up on its next run.
To go back, select Reset to the default Onboarded address under Sender email. That leaves your authenticated domains in place, so you can set the address again whenever you want.
One scope note: this covers automation email only. Team invitations and verification codes still come from the default Onboarded address, and authenticating a domain doesn't change that.